DIY Magnet Board
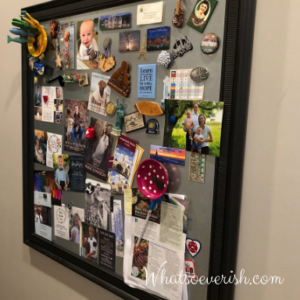
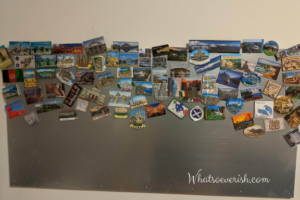
My son, Mitchell, has a magnet collection from his travels around the world … New Zealand, Australia, Iceland, Italy, England. He wanted a manly way to display them. So this is what we created the last time he was home!
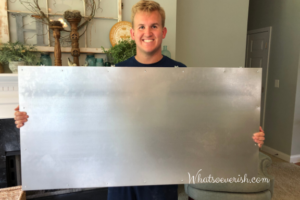
It was pretty easy and fast to make. Here are the steps:
1. Purchase supplies
We got everything at Lowe’s but Home Depot and Amazon sell the supplies, too.
Galvanized sheet (we got this one)
1x2x6 Wood strips (we got these)
34 Silver screws (1/2″ long)
4 Corner braces (like this)
2. Cut wood
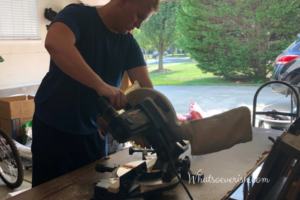
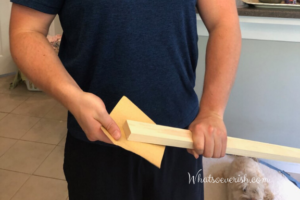
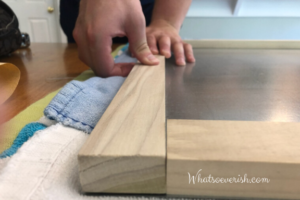
Measure your piece of metal. Cut the two longest pieces first. Set them in place then measure (twice) the length of the shorter boards. The boards should be flush with the edges of the metal.
3. Assemble wood frame
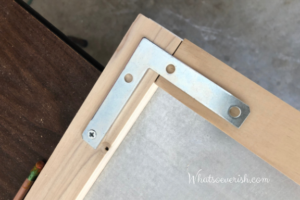
Once we were sure the pieces fit well and matched the length and width of the galvanized metal we secured the corners with corner brackets. Place the brackets and mark holes with dots. Drill starter holes so the wood doesn’t split or crack. Insert 4 screws in each bracket.
4. Attach metal to frame
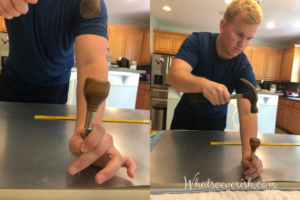
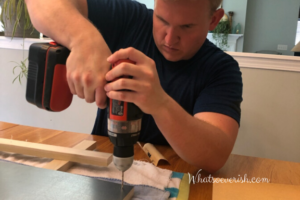
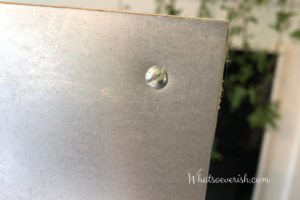
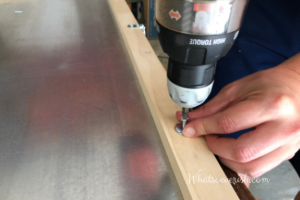
You will need to drill holes through the metal. Mark where you want the screws (corners, center and evenly spaced) then using an awl make a divet. Using a drill bit the same size as your screw drill a hole. Then drill smaller holes into the wood. Experiment with it and you’ll understand why.
5. Add a hanger on the back
The magnetic board will be very heavy as more magnets are added so choose to use a heavy-duty hanger. The Hillman Hanging System will hold up to 75 pounds.
Finished and ready to hang

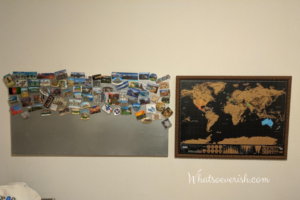
This is the scratch-off map Mitchell loves!
Another idea
Purchase a frame for a custom piece of metal or make a frame for the front. (Thanks Bekah!)
