
Cookie Decorating Parties
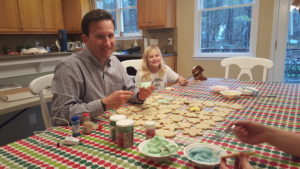
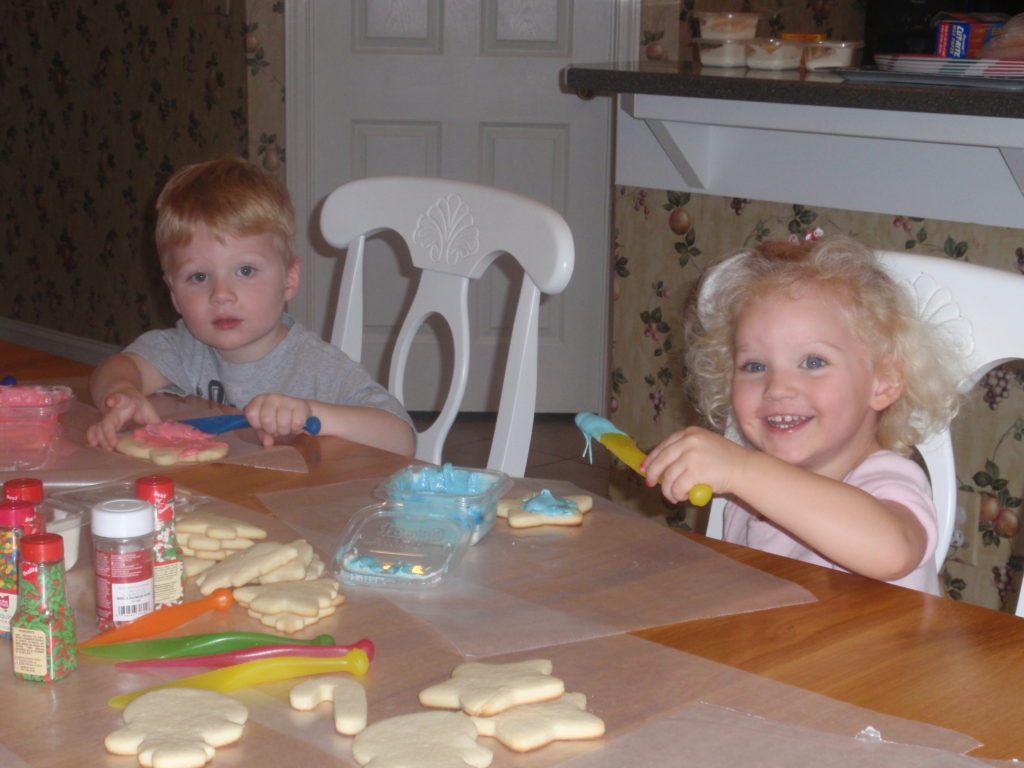
There is nothing as fun or as affordable as a cookie decorating party. My kids loved them growing up and my grandchildren love them now. Every time I’ve hosted a cookie decorating party — and there have been a LOT of them — every single child, young and old, has loved it!
DISCLAIMER: This post may contain affiliate links. This means that Buffy and Patti may earn a small commission should you make a purchase using our links. There will be no extra cost to you. We will only suggest products we love and know you will love too!
Here are some tips for hosting cookie decorating activity for kids of any age:
Make the cookies before the party
When my children were young they helped make the cookie dough, roled it out and cut the shapes. It was a fun but messy process. Now when we have cookie decorating parties I make dozens of cookies ahead of time. A cookie decorating party starts with a great recipe… and we’ve got a tried and true never-fail recipe. Our family has used this recipe for over 30 years! You’ll find it at the end of this post.
You can make the cookies 2 or 3 days before then store them in large food storage containers until ready to use.
Make the frosting and gather sprinkles
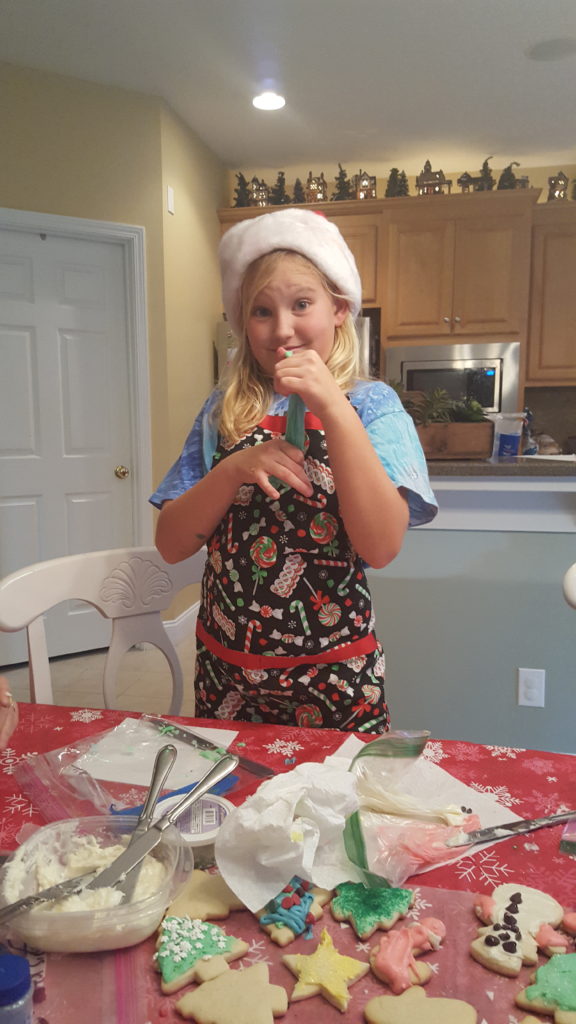
Make a simple white frosting or you can also use canned frosting. At home, I always make the frosting but when I take supplies to school or church I tend to buy frosting. Divide the frosting into small containers with air-tight lids. Mix in your desired food colors. I usually provide lots of butter knives for decorating and fill disposable decorator bags or quart-size zip bags with about ½ cup of icing and close tightly with rubber bands. Snip the tips of the bags right before the activity. Decorating with these bags is a lot of fun so be sure to have a couple for each color frosting!
Pre-party set up
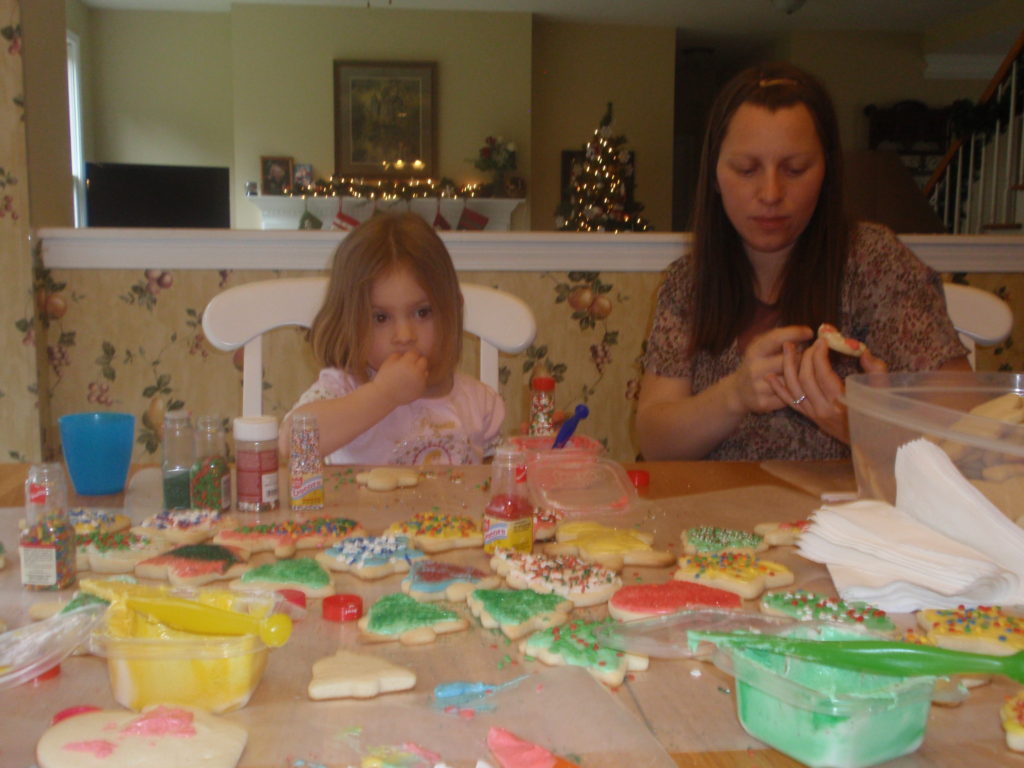
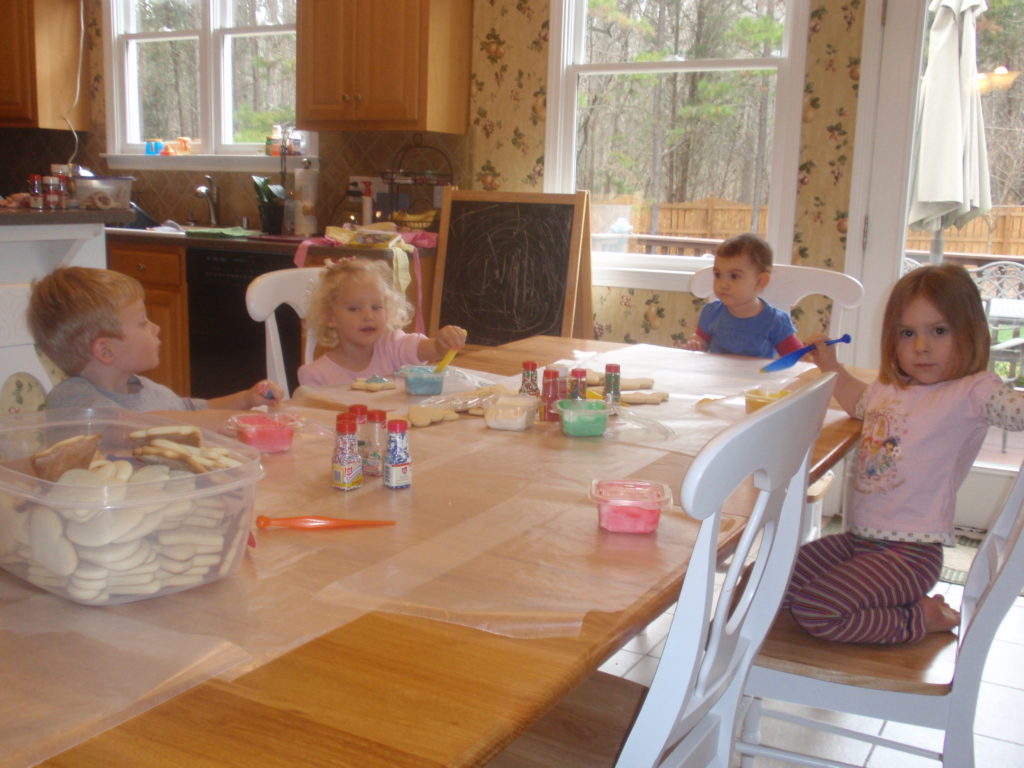
Before the party begins cover your table with a disposable plastic tablecloth. Believe me, this saves a lot of clean up time — you just roll up the mess and put it in the trash. Line the center of the table with parchment or waxed paper. Place the cookies, the icing bowls and the icing bags in the center for the kids to share. Snip 1/4 to 1/2 inch from the tips of the icing bags. Add bottles of sprinkles which will be messy but the kids love it! I grab sprinkles after the holidays for the following year.
Around the holidays we usually visit Dollar Tree to get a few plastic plates to send decorated cookies home with our guests. Be sure to have plastic wrap, paper towels and wipes on hand.

What to expect?
There was a time when I’d tell you that younger kids will frost a cookie or two and be done in 5 minutes. And that older kids will frost many cookies and take 15 to 30 minutes. But there are children who will spend hours decorating the perfect cookies. Expect a mess. Expect frosting and sprinkles will be everywhere! One child will run to the sink to was hands every few minutes and another child will have frosting dripping down his chin but they will both love it! Be sure to take lots of photos to share with their parents!
We have cookie decorating parties a couple of times a year with HDH’s friends and a couple of times a year with our family. Our adult children don’t join us for all of our holiday activities but they never miss decorating cookies!
Party favors?
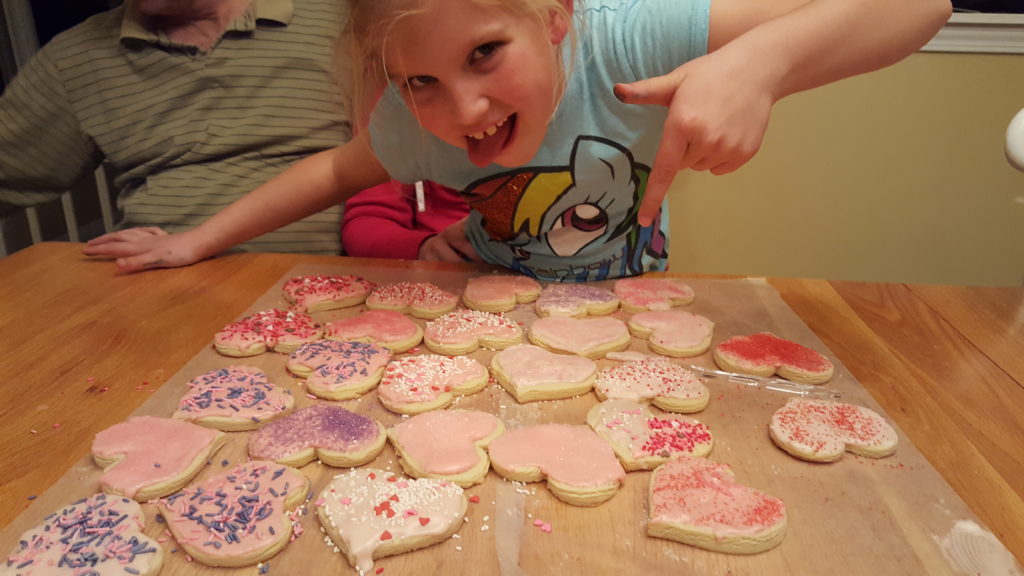
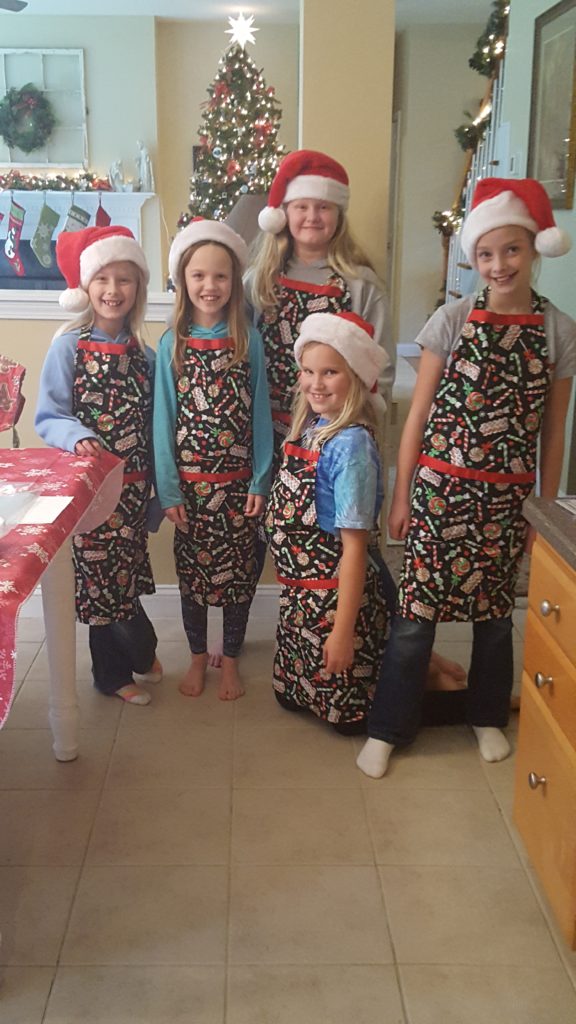
The aprons above are homemade and we save these for each Christmas. For Valentine’s Day this year we made darling ladybug/heart aprons for the girls to take home. Here’s a cute red polka-dot apron that could be used for a Christmas and Valentine’s Day party. And the hot pink one is darling too! If you decorate cookies or cupcakes as part of a birthday party they would be the perfect party favor!
Be sure to send cookies home with the girls or take the girls to deliver cookies to others.
The secret to moist cookies is in the baking time. Bake until the bottoms just start to turn golden!! Here’s the recipe:
Sugar Cookies & Frosting
These are soft, moist cookies that soak up the frosting. They roll out well and are fun to decorate for any holiday. The secret is to bake them just until the bottoms turn golden.
Ingredients
- 1 cup soft butter soft, but not melted
- 1.5 cups granulated sugar
- 1.5 teaspoon vanilla
- 2 eggs
- 3.5 cups white flour
- 1 teaspoon baking powder
- 1 teaspoon salt
For Frosting:
- 1/2 cup butter softened
- 2 cups powdered sugar
- 1 teaspoon vanilla
- 1/4 cup milk
- Food color
- Sprinkles
Instructions
-
For cookies:
Cream the butter, sugar, vanilla, and eggs. In another bowl, mix the flour, baking powder, and salt. Add the dry mixture to the butter mixture and mix well. I usually make a double batch using my Kitchenaid. For a single batch, I use a hand mixer.
-
Roll out in small batches on a floured cutting board. Roll to about 1/4". Cut into desired shapes. Bake at 400 for 4 to 8 minutes. Just until the bottom starts to turn golden.
For Frosting:
Soften butter. Mix butter and vanilla. Add powdered sugar and milk. Mix until smooth. Divide frosting into 4 small bowls. Add food color and mix well.
Here are some great cookies cutters: Christmas Shapes, Autumn Shapes, Halloween Shapes, and Heart Shapes. I prefer metal ones over plastic!






2 Comments
Pingback:
admin
This is a soft and chewy recipe that takes basic ingredients and no chill time.